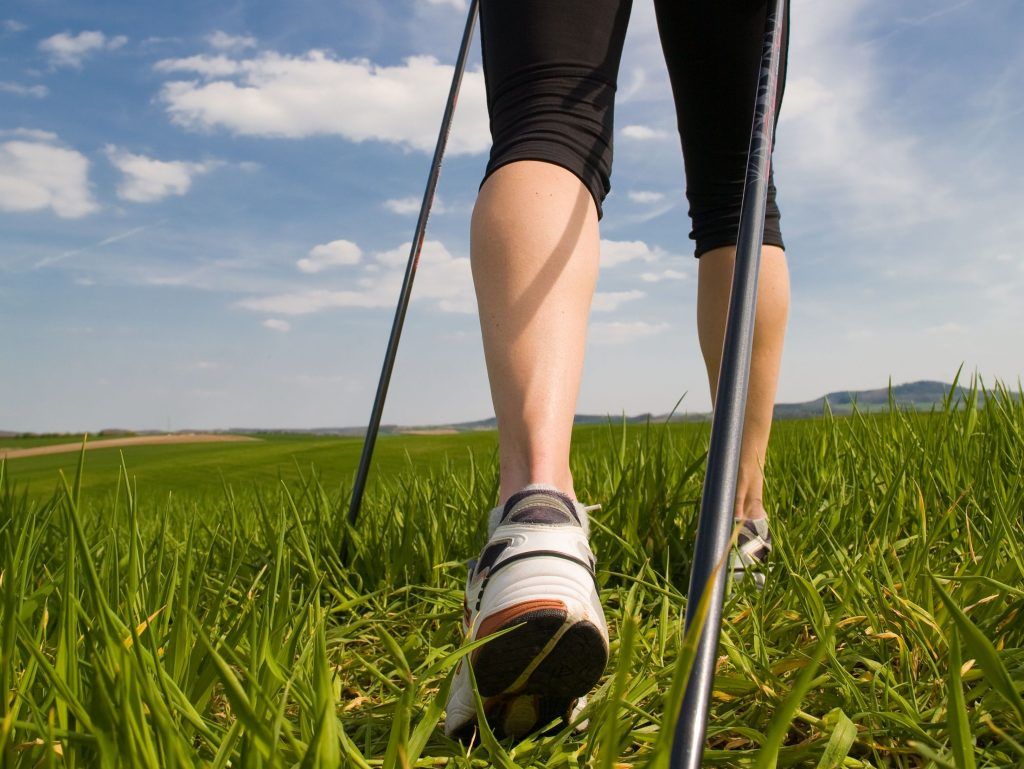
Posture, stride, pole angle, push and rhythm: Nordic Walking technique explained the way I explain it at a course, with the pole-length table and the commonest mistakes.
Nordic Walking technique comes down to five movements: upright torso, long stride, poles angled backwards, a push with the hand opening behind the hips, arms and legs in opposition. Everything else follows from these. If those five points are in place you are doing Nordic Walking; if one is missing you are walking with two sticks in your hands, which is a different activity and gives far less back.
I write this because it is by far the commonest misunderstanding at courses. People turn up convinced they have been doing it for years, and in ninety per cent of cases the problem is always the same: the arm never goes behind the hips, so there is no push, so the movement is purely decorative.
What Nordic Walking really is (and what it is not)
It is a form of walking in which two specific poles, fitted with a strap, are used to push backwards, not to lean on going forwards. That is the whole difference. In trekking, poles take weight on descents and give stability: they are planted in front of the foot. In Nordic Walking the tip touches the ground behind the opposite foot and serves to transmit the force of arms, shoulders and back into the ground.
The measurable consequence is that at the same speed energy expenditure rises appreciably — the literature reports figures in the order of twenty per cent more than ordinary walking — and that the muscles of the upper body come into play, which stay still when you simply walk.
The technique in 5 points
1. Posture: upright torso, eyes ahead
Shoulders low and broad, chest open, eyes about ten metres ahead of you rather than on your feet. The pelvis stays neutral: the typical beginner's tendency is to lean forward from the hips, as if pushing something. If you look down, the chain closes and the push is lost.
2. A long stride, heel to toe
The stride is longer than your usual walking step. You land on the heel, roll through the whole foot and push off with the forefoot. The knee of the trailing leg extends fully — this extension is where most people stop halfway.
3. Poles angled backwards
The pole touches the ground behind the line of the opposite foot, at a clear angle, never vertical. The hand never rises above navel height in the forward phase. If the tip ends up in front of the foot you are trekking, not Nordic Walking.
4. The push and the opening hand
This is the decisive point. You push back until the hand travels beyond the hips, and at that moment you open the hand: the pole hangs from the strap, the grip releases completely. Then the hand closes softly again as the arm swings forward.
Anyone who keeps a closed fist through the whole cycle tires their forearms, stiffens their shoulders and never lengthens the push. If your hands ache after half an hour, this is why.
5. Rhythm and cross-coordination
Right arm with left leg and vice versa, exactly as in natural walking. The arm stays almost straight; you do not pump with the elbow. The stride sets the rhythm, not the arms: if you have to count, you are thinking too hard — cross-coordination is a movement the body already knows.
How to choose pole length
The reference rule is height × 0.66, rounded to the 5-centimetre increments available on the market. Beginners can go for the lower figure: a slightly short pole forgives, a long one forces you to raise the shoulder and ruins the movement.
| Height | Recommended length |
|---|---|
| 155–162 cm | 105 cm |
| 163–170 cm | 110 cm |
| 171–177 cm | 115 cm |
| 178–185 cm | 120 cm |
| 186–192 cm | 125 cm |
Check it in the field: with the tip on the ground beside your foot and your arm hanging by your side, the elbow should form an angle of about ninety degrees, or slightly more open. If the elbow is more closed, the pole is too long.
For personal use, fixed poles are lighter, stiffer and transmit the push better. Telescopic ones make sense if you have to share them, if you travel often, or if you are not yet sure of your size.
The six commonest mistakes
- Poles that are too long. They raise the shoulders and shorten the push. This is mistake number one.
- A clenched fist through the whole cycle. It tires the forearms and stops the hand travelling beyond the hips.
- An arm that never goes back. Without a rear phase there is no push: you are walking, with extra load.
- A pumping elbow. The arm should stay almost straight; bending it turns the movement into pedalling thin air.
- The tip planted in front of the foot. That is the trekking movement, and it brakes instead of pushing.
- Trekking poles used for Nordic. They lack the strap that lets you open your hand: without it, point 4 is mechanically impossible.
How good is it, really
Compared with walking at the same speed, Nordic Walking raises energy expenditure and heart rate, and engages the muscles of the shoulders, back and trunk that would otherwise stay passive. Many people also report a sense of less load on knees and ankles, because part of the drive comes from the arms.
It is a low-impact activity, sustainable over the long term, practicable on gravel as on tarmac and suited to very different age groups — in the groups I run, ages range from thirty to seventy-five. That said: if you have a known cardiac, joint or respiratory condition, talk to your doctor before starting. I teach technique, I do not give clinical advice.
Where to start
Two or three guided outings are enough to fix the movement correctly. The reason not to learn it from a video is straightforward: the mistakes in points 3 and 4 cannot be seen on your own, you only notice them if someone points them out while you are making them. And once they are automatic they take far longer to correct than to learn properly the first time.
Frequently asked questions
What is the difference between Nordic Walking and walking with trekking poles?
In trekking, poles are planted in front of the foot to take weight and give stability, especially on descents. In Nordic Walking the tip touches the ground behind the opposite foot and serves to push: the movement changes, the muscles involved change, and so does the equipment, because you need poles with a strap.
How long should Nordic Walking poles be?
As a guide, your height multiplied by 0.66, rounded to 5 centimetres. Someone of 170 cm is fine on 110 cm, someone of 180 cm on 120 cm. Beginners can choose the next size down.
Does Nordic Walking help you lose weight?
At the same speed it burns appreciably more than ordinary walking, in the order of twenty per cent, because it adds the work of the upper body. Like any aerobic activity it affects your overall energy balance, which also depends on diet and consistency.
Do you need a course or can you learn on your own?
You can walk on your own from day one, but correct technique is hard to acquire without someone watching. The commonest mistakes involve the rear phase of the arm, which the walker cannot see. Two or three lessons are usually enough.
What ground can you practise on?
Any ground with an even surface: gravel, embankment, grass, cycle path, tarmac. On tarmac you fit the rubber tips supplied; on earth and grass you use the metal tip.
I run Nordic Walking courses and outings both in South Tyrol and along the embankments of the Po Delta. If you would like to try, have a look at the tours or drop me a line.